Step-by-Step Tutorial: Capturing and Saving Output From PowerShell Commands in Text Files

Step-by-Step Tutorial: Capturing and Saving Output From PowerShell Commands in Text Files
Quick Links
- Send a PowerShell Command’s Output to a Text File
- Send a PowerShell Command’s Output to a CSV File
- View Your Text or CSV File’s Contents in PowerShell
Key Takeaways
- To save a PowerShell command’s output to a TXT file, type the command, press Spacebar, type the > (greater than) symbol, press Spacebar, and type the full path to the TXT file.
- To generate a CSV file from a PowerShell command, type your command, press Spacebar, type the | (pipe) sign, press Spacebar, type “Export-CSV”, press Spacebar, enter the full path to the CSV file, press Spacebar, type “-NoTypeInformation”, and press Enter.
Do you want to save your PowerShell command’s result in a TXT (text) or CSV (comma-separated values) file on your computer? If so, it’s easy to do, and we’ll show you how on your Windows 11 or Windows 10 PC.
Send a PowerShell Command’s Output to a Text File
To write your PowerShell command’s output to a text (TXT) file, first launch a PowerShell window . Here, type whatever command you need, the output of which you want in a text file. After you’ve typed the command, press Spacebar, type the > (greater than) symbol, press Spacebar, enter the full path to the text file where you want to save the output, and press Enter.
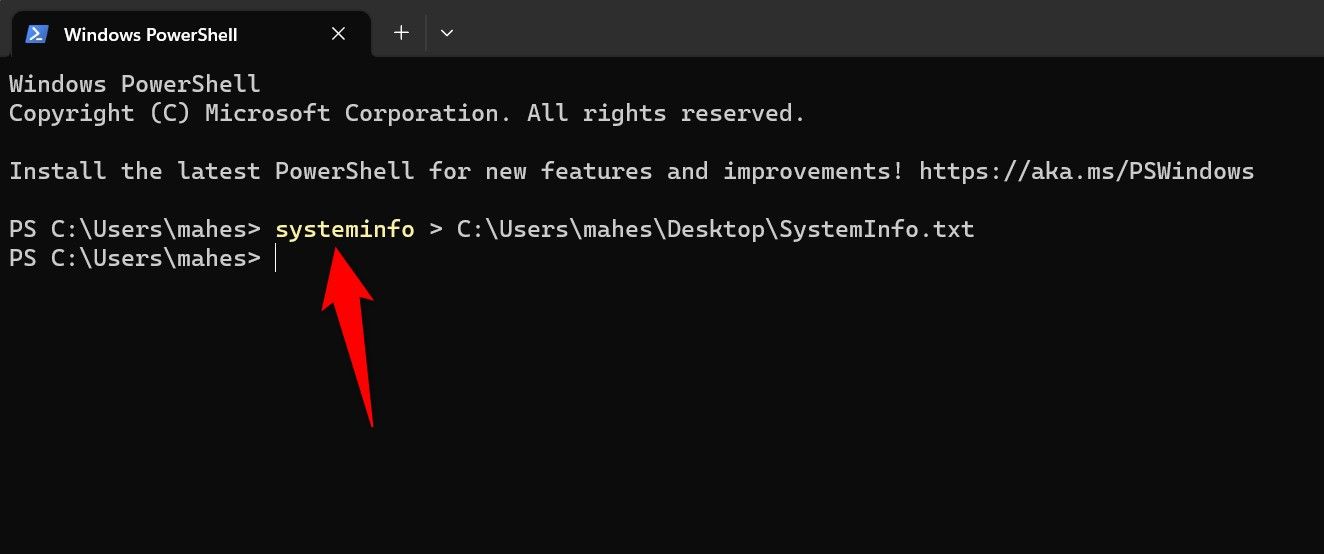
For example, if you want to save the “systeminfo” command’s output to a file named “SystemInfo.txt” on your desktop, your command will look something like the following:
systeminfo > C:\Users\mahes\Desktop\SystemInfo.txt

As soon as you press Enter, PowerShell creates your specified file and adds your command’s result to it. When that’s done, access your specified path, and you’ll find your newly created file there.
Send a PowerShell Command’s Output to a CSV File
If you want to create a CSV file containing the output of your specified PowerShell command, use the tool’s “Export-CSV” cmdlet .
To do that, launch PowerShell. Here, enter your command (the results of which you want in a CSV file). Then, press Spacebar, enter the | (pipe) sign, press Spacebar, enter “Export-CSV”, press Spacebar, enter the full path to the CSV file you want to create, press Spacebar, type “-NoTypeInformation”, and press Enter.
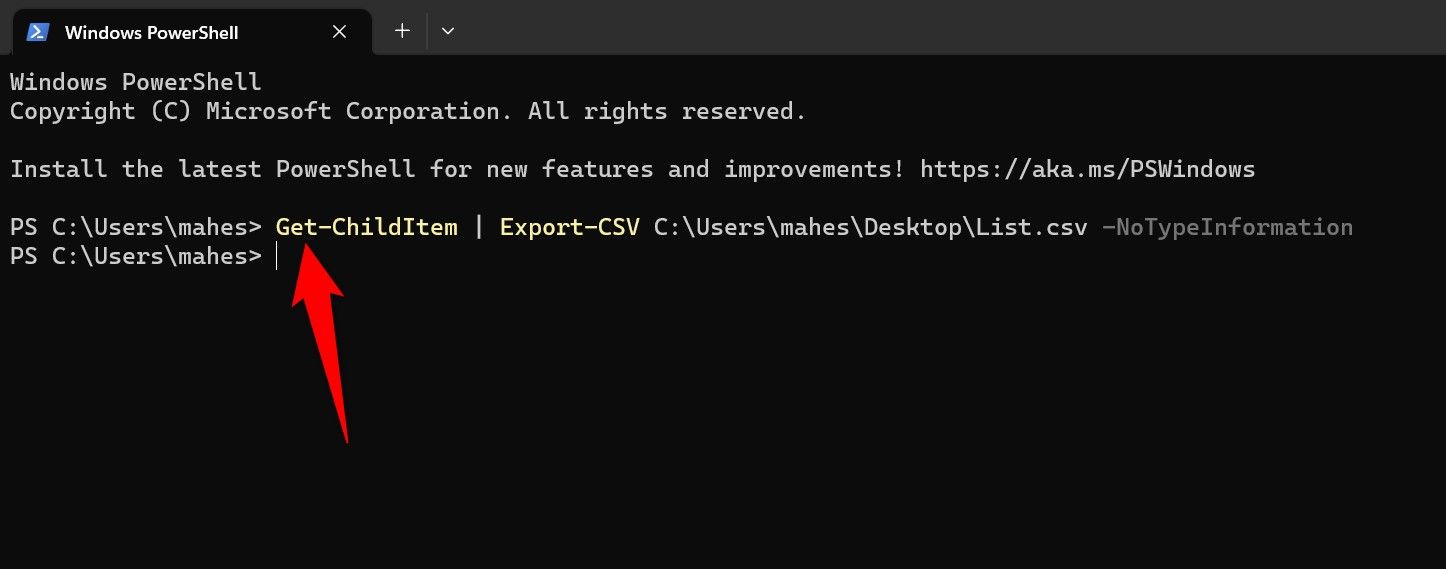
For example, if you want to save the current directory’s item list in a file called “List.csv” on your desktop, you’d use a command that looks like the following. Note that the “NoTypeInformation” parameter here tells the command not to include the #TYPE information header in your CSV file.
Get-ChildItem | Export-CSV C:\Users\mahes\Desktop\List.csv -NoTypeInformation

When you’ve finished running the command, you’ll have a file called “List.csv” on your desktop containing the list of the items in your current directory.
View Your Text or CSV File’s Contents in PowerShell
You can view your newly created text or CSV file’s contents right inside PowerShell. You don’t have to leave the tool and use another app to open your files.
To do that, open a PowerShell window, type the following command, replacing “PATH” with the full path to your text or CSV file, and press Enter.
Type PATH
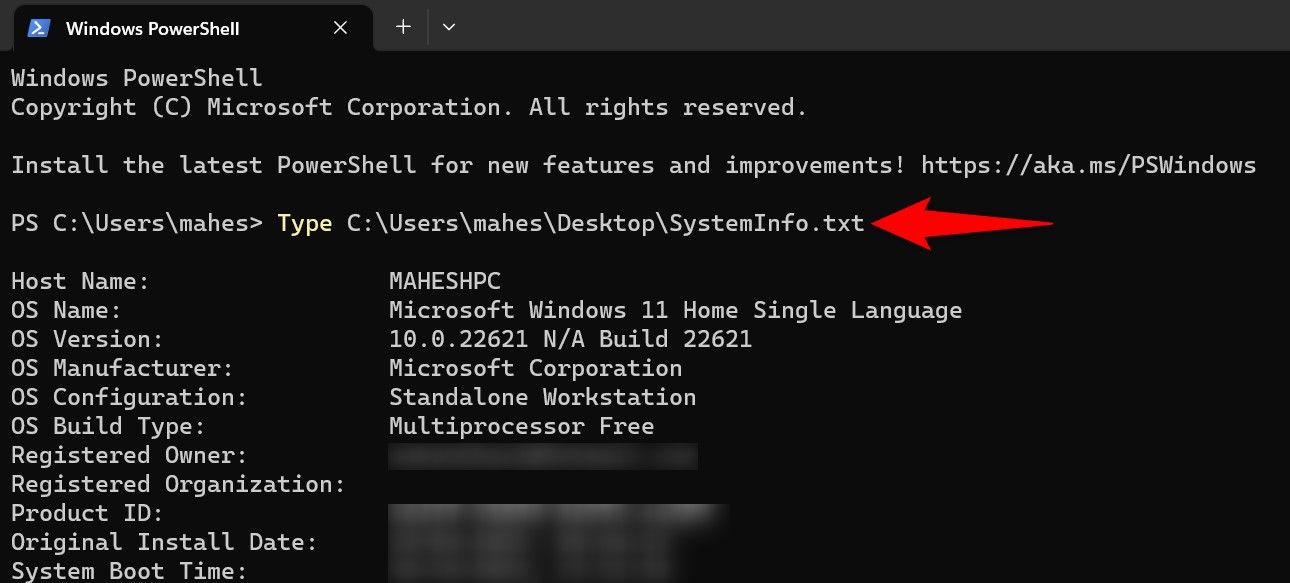
For example, if you want to read the contents of a file named “SystemInfo.txt” placed on your desktop, you’d use the following command:
Type C:\Users\mahes\Desktop\SystemInfo.txt

Instantly, PowerShell will load your file’s contents in your open window, allowing you to read the file content.
And that’s all there is to know about saving your PowerShell command results in text or CSV files. Enjoy!
Also read:
- [New] In 2024, Direct Pathway IPhone Media to PC Transfer
- [Updated] 2024 Approved Seamless Transfer Your Path to Storing Instagram Videos on PC
- [Updated] Curated Queries for Spirited Conversations in Podcasts
- [Updated] Learning to Let Go of Hurtful Comments
- Asociarse Con WinX DVD - Mejorando El Éxito De Tu Empresa
- ChatGPT and Data Protection: Understanding the Potential Threats to User Privacy
- Content Creation Revolutionized by ChatGPT - Explore the 9 Most Impactful Features for Writers
- Guide: Setting up the Legacy Slamius Wizard on Kodi 19 & 18 – Lasting Solutions
- How To Transfer WhatsApp From Apple iPhone 15 Pro to other iPhone 14 Pro devices? | Dr.fone
- In 2024, 5 Hassle-Free Solutions to Fake Location on Find My Friends Of Vivo T2 Pro 5G | Dr.fone
- Innovative Ways to Craft Unique D&D Characters by Leveraging ChatGPT and DALL-E Technologies
- Is OpenAI's Grip on ChatGPT Starting to Slip Away?
- Next-Level AI Solutions: 10 Unique GPT Variants Surpassing ChatGPT's Functionality
- Streamline AI Tasks: Beginning with Auto-GPT
- The Pros and Cons of Using ChatGPT or Bard for Informed Investment Decisions - Do They Really Work?
- The Ultimate List of POS Alternatives to GPT on Mobile Devices
- Updated 2024 Approved Replace Sony Vegas with These Powerful Windows Video Editing Tools
- Title: Step-by-Step Tutorial: Capturing and Saving Output From PowerShell Commands in Text Files
- Author: Jeffrey
- Created at : 2024-11-15 18:31:11
- Updated at : 2024-11-18 19:25:16
- Link: https://tech-haven.techidaily.com/step-by-step-tutorial-capturing-and-saving-output-from-powershell-commands-in-text-files/
- License: This work is licensed under CC BY-NC-SA 4.0.