
How to Quickly Reset Icon Cache for Windows 7, 8 and Vista Users
How to Check RAM on Windows | Quickly & Easily
Want to check the RAM on your Windows 10 computer or laptop? You’ve come to the right place. This post will show you several methods tocheck RAM on Windows 10 .
What is RAM?
RAM stands for Random Access Memory. It’s a type of computer memory that can be accessed randomly. RAM stores various types of information about running programs in your computer. However, RAM can only stores the data as long as the computer is on, so if the computer shuts down, it will lose the previously stored data.
There are two main types of RAM in the current market: DRAM (Dynamic Random Access Memory) and SRAM (Static Random Access Memory). Generally speaking, the more RAM your computer is, the faster it can run. If your computer is running slow to a crawl, one of the main causes can be the small RAM capacity that influences the system performance.
How to check how much RAM you have
Method 1: Check RAM via msinfo32.exe
Since Windows 98, Microsoft includes a built-in tool called Microsoft System Information (msinfo32.exe), which enables you to gather information about your computer.Here’s how to use it:
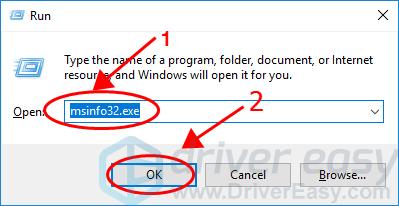
On your keyboard, press theWindows logo key andR at the same time to invoke the Run box.
Typemsinfo32.exe and clickOK .
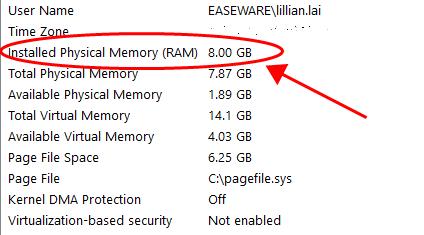
- You can check your RAM inInstalled Physical Memory (RAM) . You can also browse other system information from this window.
Now you should be able to check your computer memory without problems!
If this method doesn’t work for you, don’t worry. We have other solutions for you.
Method 2: Check RAM via Task Manager
You can also check your RAM on Windows 10 from Task Manager. To do so, follow the steps below:
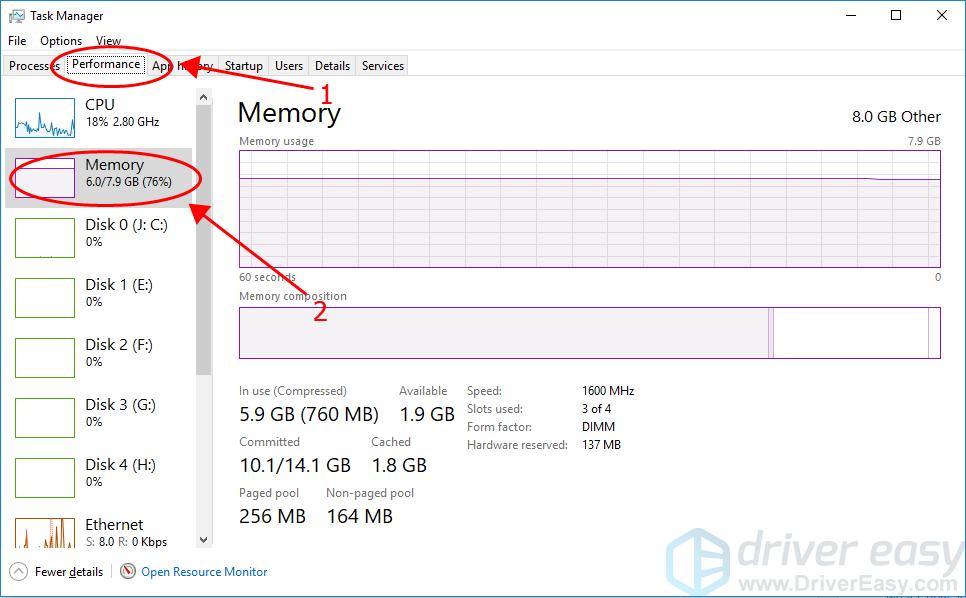
On your keyboard, press theCtrl key,Shift key, andEsc key at the same time to invokeTask Manager .
ClickPerformance , then clickMemory , and you will see the RAM in use and the available memory in your Windows 10 computer.
Method 3: Check RAM in Control Panel
Control Panel is a powerful feature where you can check information and diagnose the issues in your Windows 10 computer.
- TypeControl Panel in the search bar from theStart menu, then clickControl Panel to open it.

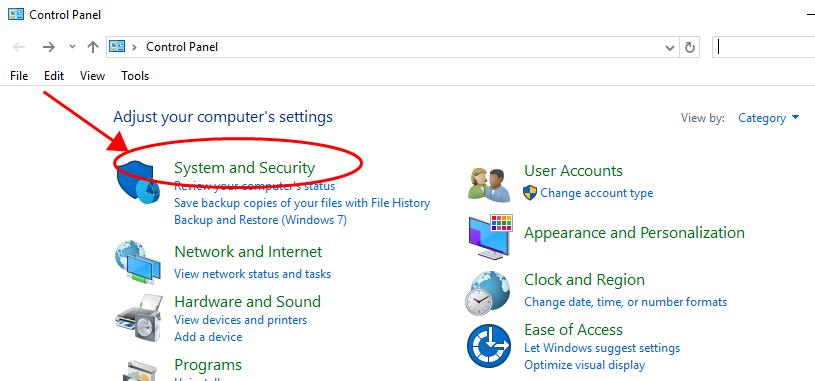
- View Control Panel itemsby category , then clickSystem and Security .
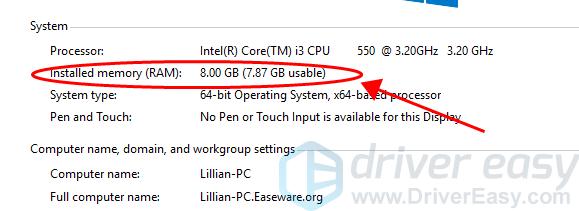
- ClickView amount of RAM and processor speed in theSystem section.

- You can check your RAM information inInstalled memory under theSystem section.
That’s it. These are the three easy methods to check RAM on Windows 10 quickly and easily.
Method 4: Bonus Tip
It requires time to manually check your computer information, including your graphics card information. If you don’t have time or computer skills, you can do it automatically with Driver Easy .
Download Driver Easy and run in your computer.
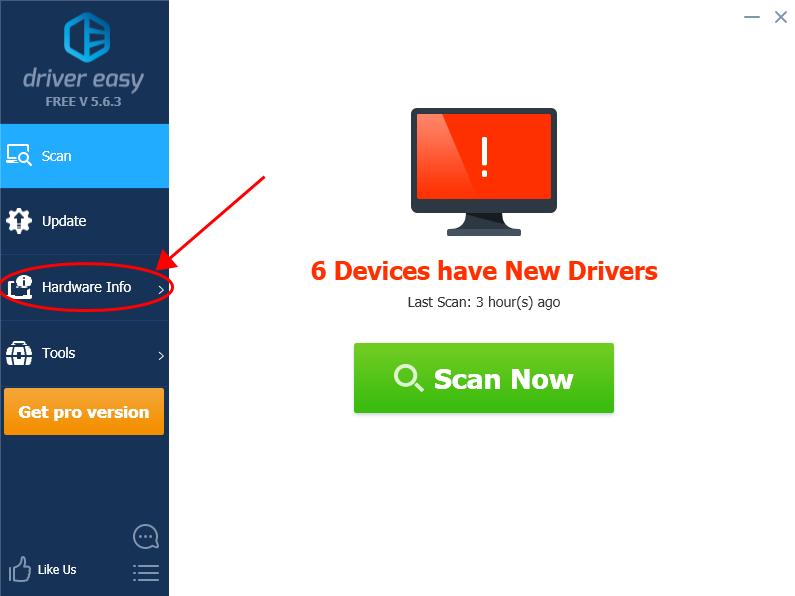
ClickHardware Info and clickYes verify UAC.
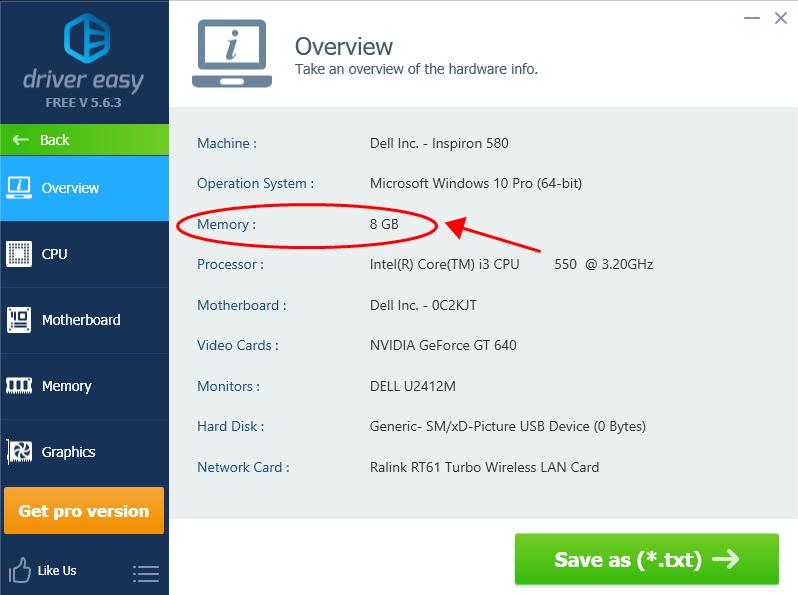
- You can then check the memory in your Windows computer, and you can also check other system information such as Motherboard, Processor, Video cards, Networks card.
As you may have already known, Windows 10 computers usually run into various issues, and one of the possible problems is the device drivers. So it’s recommended to keep your device drivers up to date.
Driver Easy will automatically recognise your system and solve the drivers issues in Windows 10. You don’t need to know exactly what system your computer is running, you don’t need to risk downloading and installing the wrong driver, and you don’t need to worry about making mistake when installing.
You can update your drivers automatically with either theFREE or thePro version of Driver Easy. But with the Pro version, it takes just 2 clicks (and you will get full support and a30-day money back guarantee ).
Download and install Driver Easy.
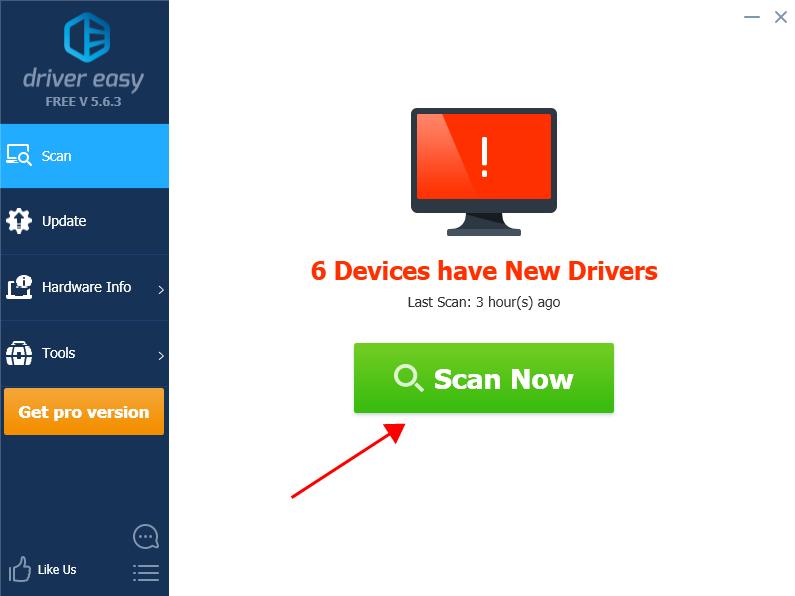
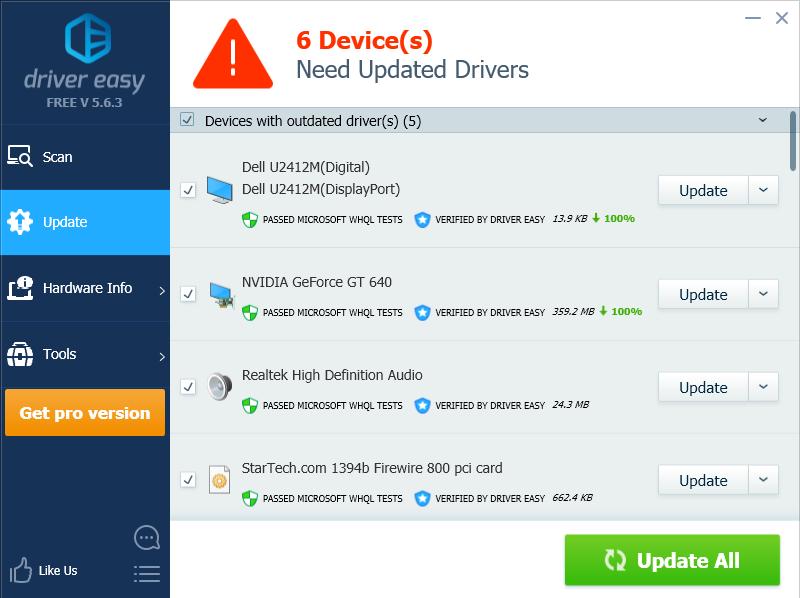
Run Driver Easy and click theScan Now button. Driver Easy will then scan your computer and detect any problem drivers.
- Click theUpdate button next to the flagged driver to automatically download the correct version of the driver (you can do this with theFREE version), then install it in your computer.
Or clickUpdate All to automatically download and install the correct version of all the drivers that are missing or out of date on your system (this requires the Pro version – you’ll be prompted to upgrade when you clickUpdate All ).
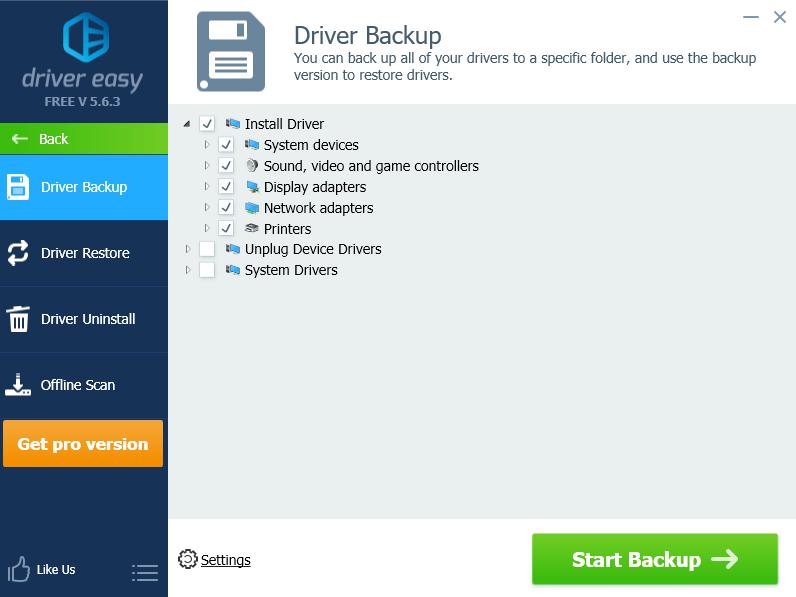
- You can also back up your device drivers or restore drivers automatically!
Also read:
- [New] Unmatched Value Top-Tier ASMR Microphones on a Budget for 2024
- [Updated] Mastering the Art of Locating Fb Lately Seen Videos
- Advance Your Wellness Journey with Leading 8 Plugins
- Advanced Coding Bots: Discover the Top 7 Options After ChatGPT
- Advantages: Why Upgrading to ChatGPT Plus?
- Elevate Your Tech Game with These 9 Must-Try ChatGPT Plugins Today!
- In 2024, 5 Solutions For Poco C51 Unlock Without Password
- In 2024, Apple iPhone 11 iCloud Activation Lock Bypass
- In 2024, Fixing Foneazy MockGo Not Working On Realme C55 | Dr.fone
- In 2024, How to Use Google Assistant on Your Lock Screen Of Nubia Red Magic 8S Pro+ Phone
- In 2024, How to use iSpoofer on OnePlus Nord N30 SE? | Dr.fone
- In 2024, Three Ways to Sim Unlock Lava Blaze Curve 5G
- Ready for ChatGPT on Windows or macOS? Opt for an Incredible Free and Open-Source Replacement Now
- Understanding Cybersecurity Roles: A Guide to Identifying White, Black, Gray, and Other Categories of Hackers
- Unveiling the Potential of GPT with Android
- Which AI Leads the Pack? Comparing ChatGPT with Microsoft Bing and Google Bard in Digital Dialogue Excellence
- Title: How to Quickly Reset Icon Cache for Windows 7, 8 and Vista Users
- Author: Jeffrey
- Created at : 2025-01-06 16:30:53
- Updated at : 2025-01-13 17:01:05
- Link: https://tech-haven.techidaily.com/how-to-quickly-reset-icon-cache-for-windows-7-8-and-vista-users/
- License: This work is licensed under CC BY-NC-SA 4.0.