
Comprehensive Tutorial on Utilizing Windows Pressure 11'S Device Manager for Driver Updates
The Ultimate Tutorial on How to Modify Your Username in Windows 10 Easily

Want tochange the account name of your Windows 10 computer ? Don’t worry. It’s easy and there are different ways to do that. We’ve put together 3 methods for how to change your user name on Windows 10. Read on and find how…
Try these methods
- Change your user account name in Control Panel
- Change your user account name in Local Users and Groups
- Change your user account name in Settings
You won’t be able to change the account name on the computer in your office if your account isjoining to any domain .
Method 1: Change your user account name in Control Panel
You can change a lot settings of Windows system throughControl Panel , including changing your account name.
Here’s how:
- On your keyboard, hold down theWindows logo key , then pressR to bring up the Run box.
- Typecontrol and pressEnter .

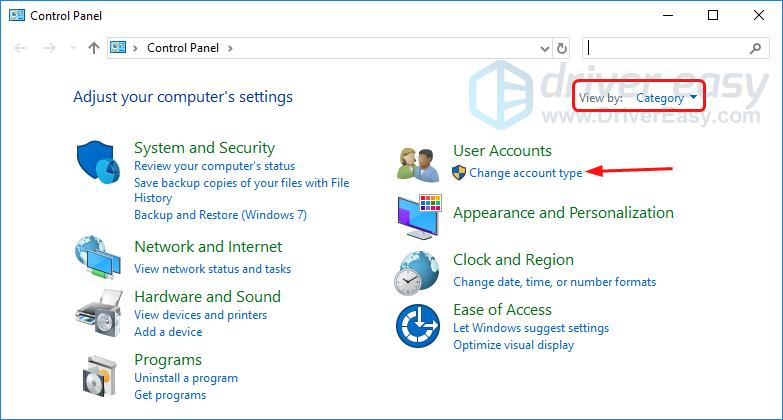
- ClickChange account type underUser Accounts when View byCategory selected.

4. Double-click the account you want to change the user name.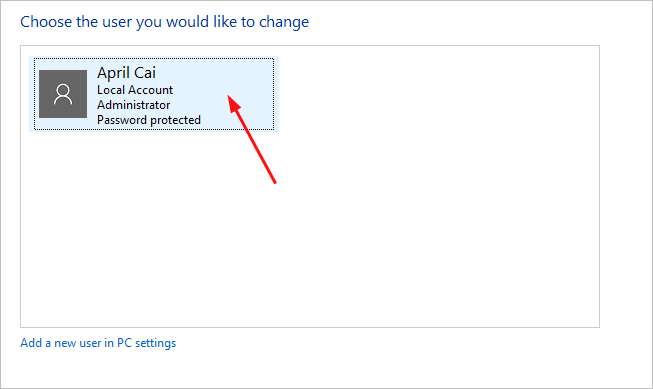
5. SelectChange the account name .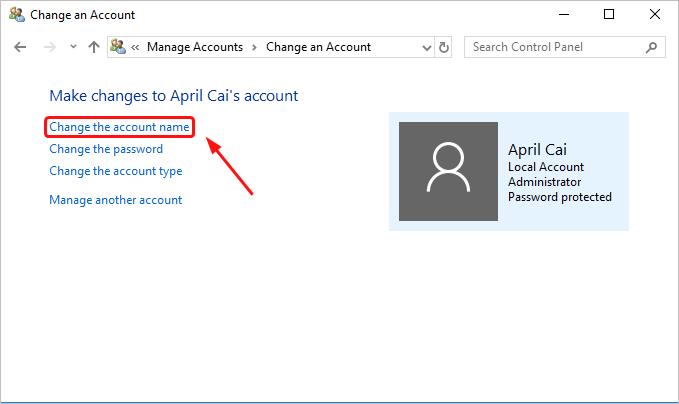
6. Type the new name into the New account name box, then clickChange Name .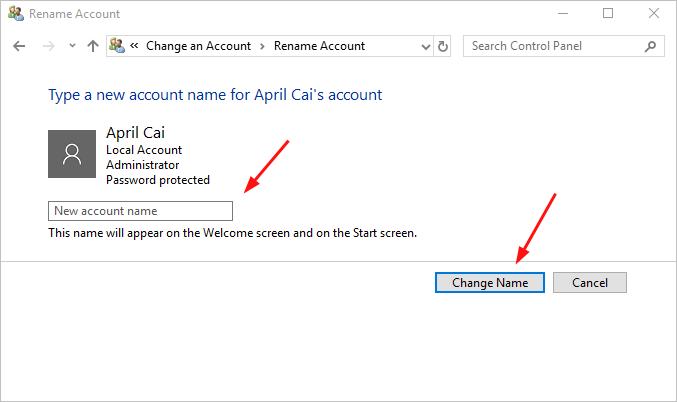
You’ll then see your account shows with the new name.
Method 2: change your user account name in Local Users and Groups
You can create and manage users and groups that are stored locally on your computer throughLocal Users and Groups , including changing your account name.
If your computer is runningWindows 10 Home , you won’t have access to Local Users and Groups, please try other methods to change your user account name.
Here’s how you can do that:
- On your keyboard, hold down theWindows logo key , then pressR to bring up the Run box.
- Typelusrmgr.msc and pressEnter .
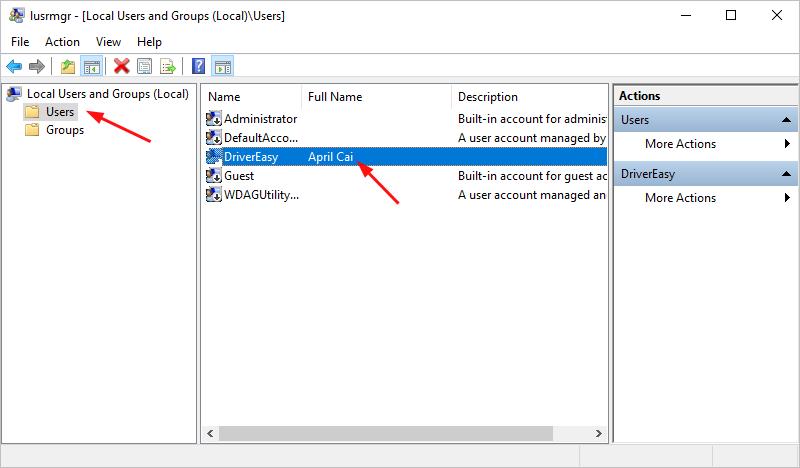
- You’ll then see the Local Users and Groups window. ClickUser then double-click the user account which you want to rename.
- Type the new name in theFull name box. Then clickApply >OK .

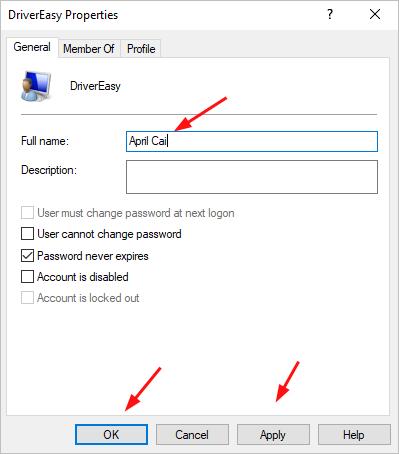
The new name is set successfully.
Method 3: Change your user account name in Settings
If you log in your Windows 10 computer with aMicrosoft account , you can change your account name in Settings. Go with these following steps:
- On your keyboard, hold down theWindows logo key, then pressX to bring up the quick-access menu.
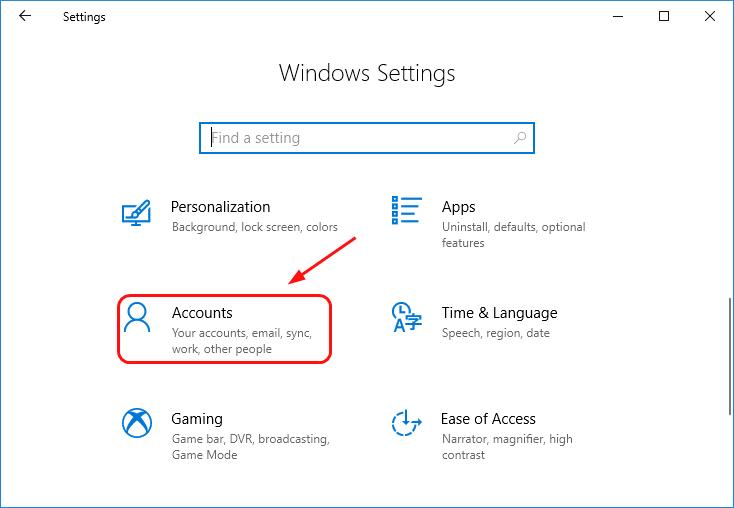
- ClickAccounts .
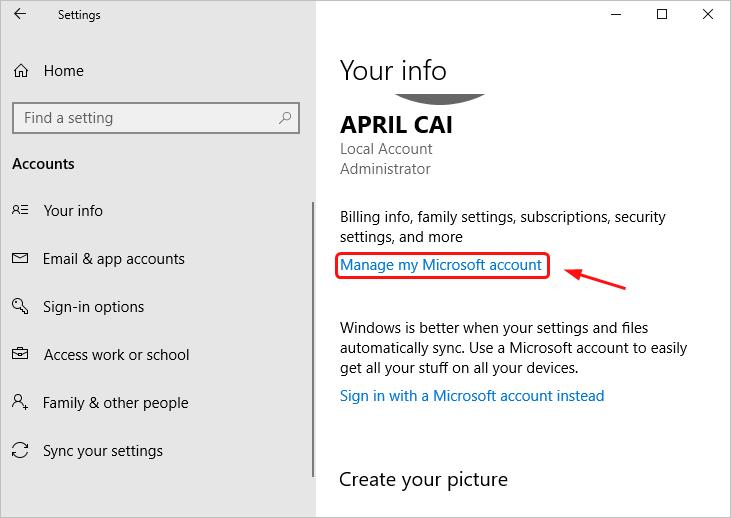
- Click Manage my Microsoft account .
4. On the open page, click the drop-down menu ofMore options under your Microsoft account. Then selectEdit Profile .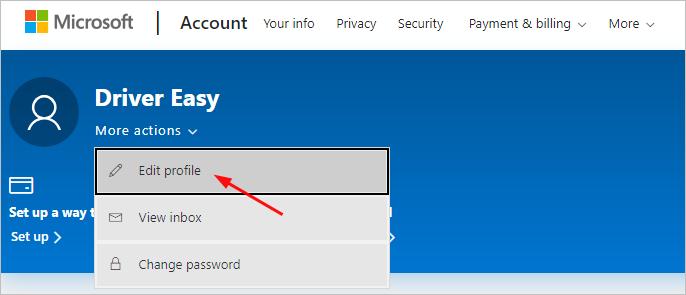
5. ClickEdit name .
6. Type the new name into the box and enter the characters you see for verification. Then clickSave .
Please note that this will change the account name of your Microsoft account.
The new account name of your Windows 10 computer is set successfully.
Tada! You own a new account name for your Windows 10 computer now. Feel free to comment below for any questions.
Also read:
- [New] Harnessing Hashtags Elevating Your YouTube Gaming Series for 2024
- [New] Mastering Aerial Footage A Guide to Drone Video Editing
- A Comprehensive Guide to iPhone 14 Pro Max Blacklist Removal Tips and Tools
- Easy Installation Tutorial: Configuring Auto-GPT for Ubuntu Users
- Elevate Tabletop Roleplaying Games Using AI-Powered ChatGPT Solutions
- Examining the Safety of GPT Web Extensions
- Exclusive Tips for Unrestricted GPT Access Worldwide
- Exploring HuggingChat: Your Open-Source Answer to Chatbot Innovation
- Get Vega 3 Graphics Support with Latest 2024 Driver
- Impact of Google's Antitrust Legal Defeat: Implications for Users & The Evolving Landscape of Online Search | TechInsights
- Ultimate Guide Top 5 Online Converters for GIFs to Videos for 2024
- Title: Comprehensive Tutorial on Utilizing Windows Pressure 11'S Device Manager for Driver Updates
- Author: Jeffrey
- Created at : 2025-01-09 16:01:20
- Updated at : 2025-01-13 18:11:48
- Link: https://tech-haven.techidaily.com/comprehensive-tutorial-on-utilizing-windows-pressure-11s-device-manager-for-driver-updates/
- License: This work is licensed under CC BY-NC-SA 4.0.